![[Legacy guide]General Settings](https://tipo.io/wp-content/uploads/2019/10/banner_bg.png)
Hide Buy it now button
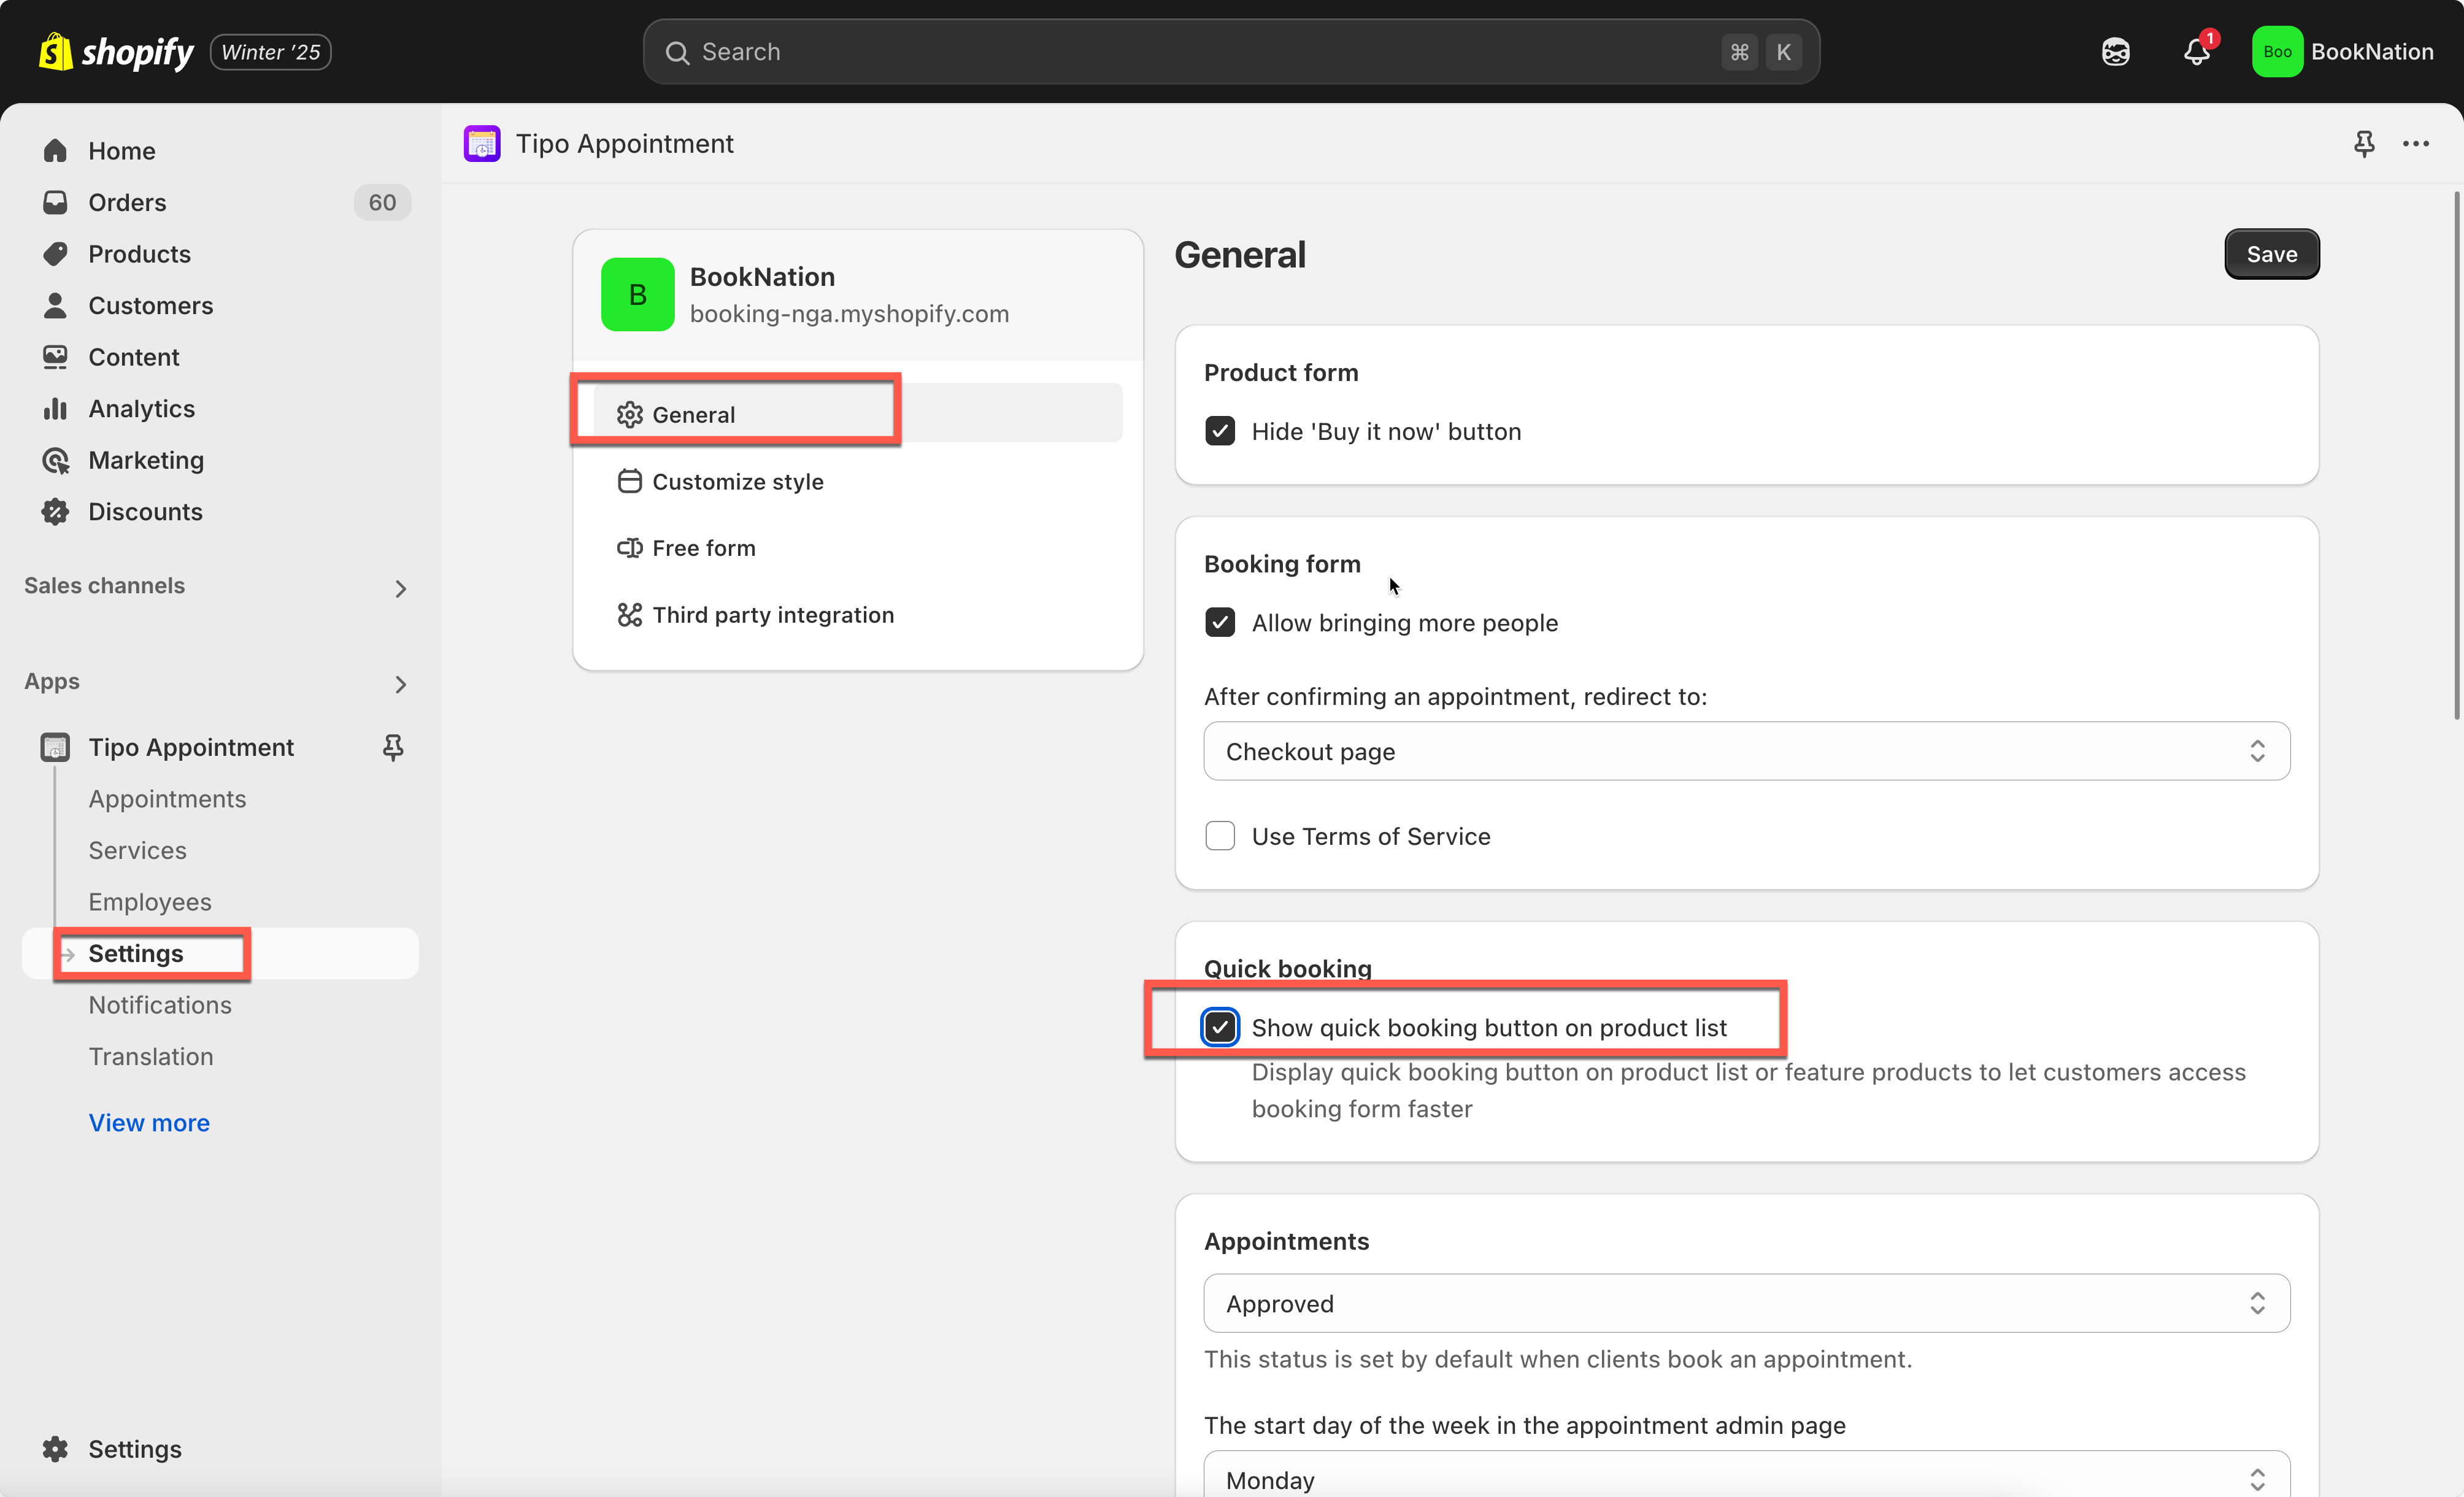
Tick on checkbox Hide ‘Buy it now’ button
The buy it now button will be hidden on the product page of the service product.
Allow bringing more people
Redirect to page after a booking confirmation
In After confirming an appointment, redirect to: > select one of the 3 options: Checkout page, Cart page or Other
- Checkout page: click Book now button on the booking widget, it directs to checkout page and customers purchase the service there
- Cart page: click Book now button on the booking widget, it directs to cart page and customers can continue to checkout and purchase the service there
- Other: this option lets you add the link of the direct page after customer book Free service
3. Click Save
Display quick booking button
In Quick Booking tab, tick on the option Show quick booking button on product list
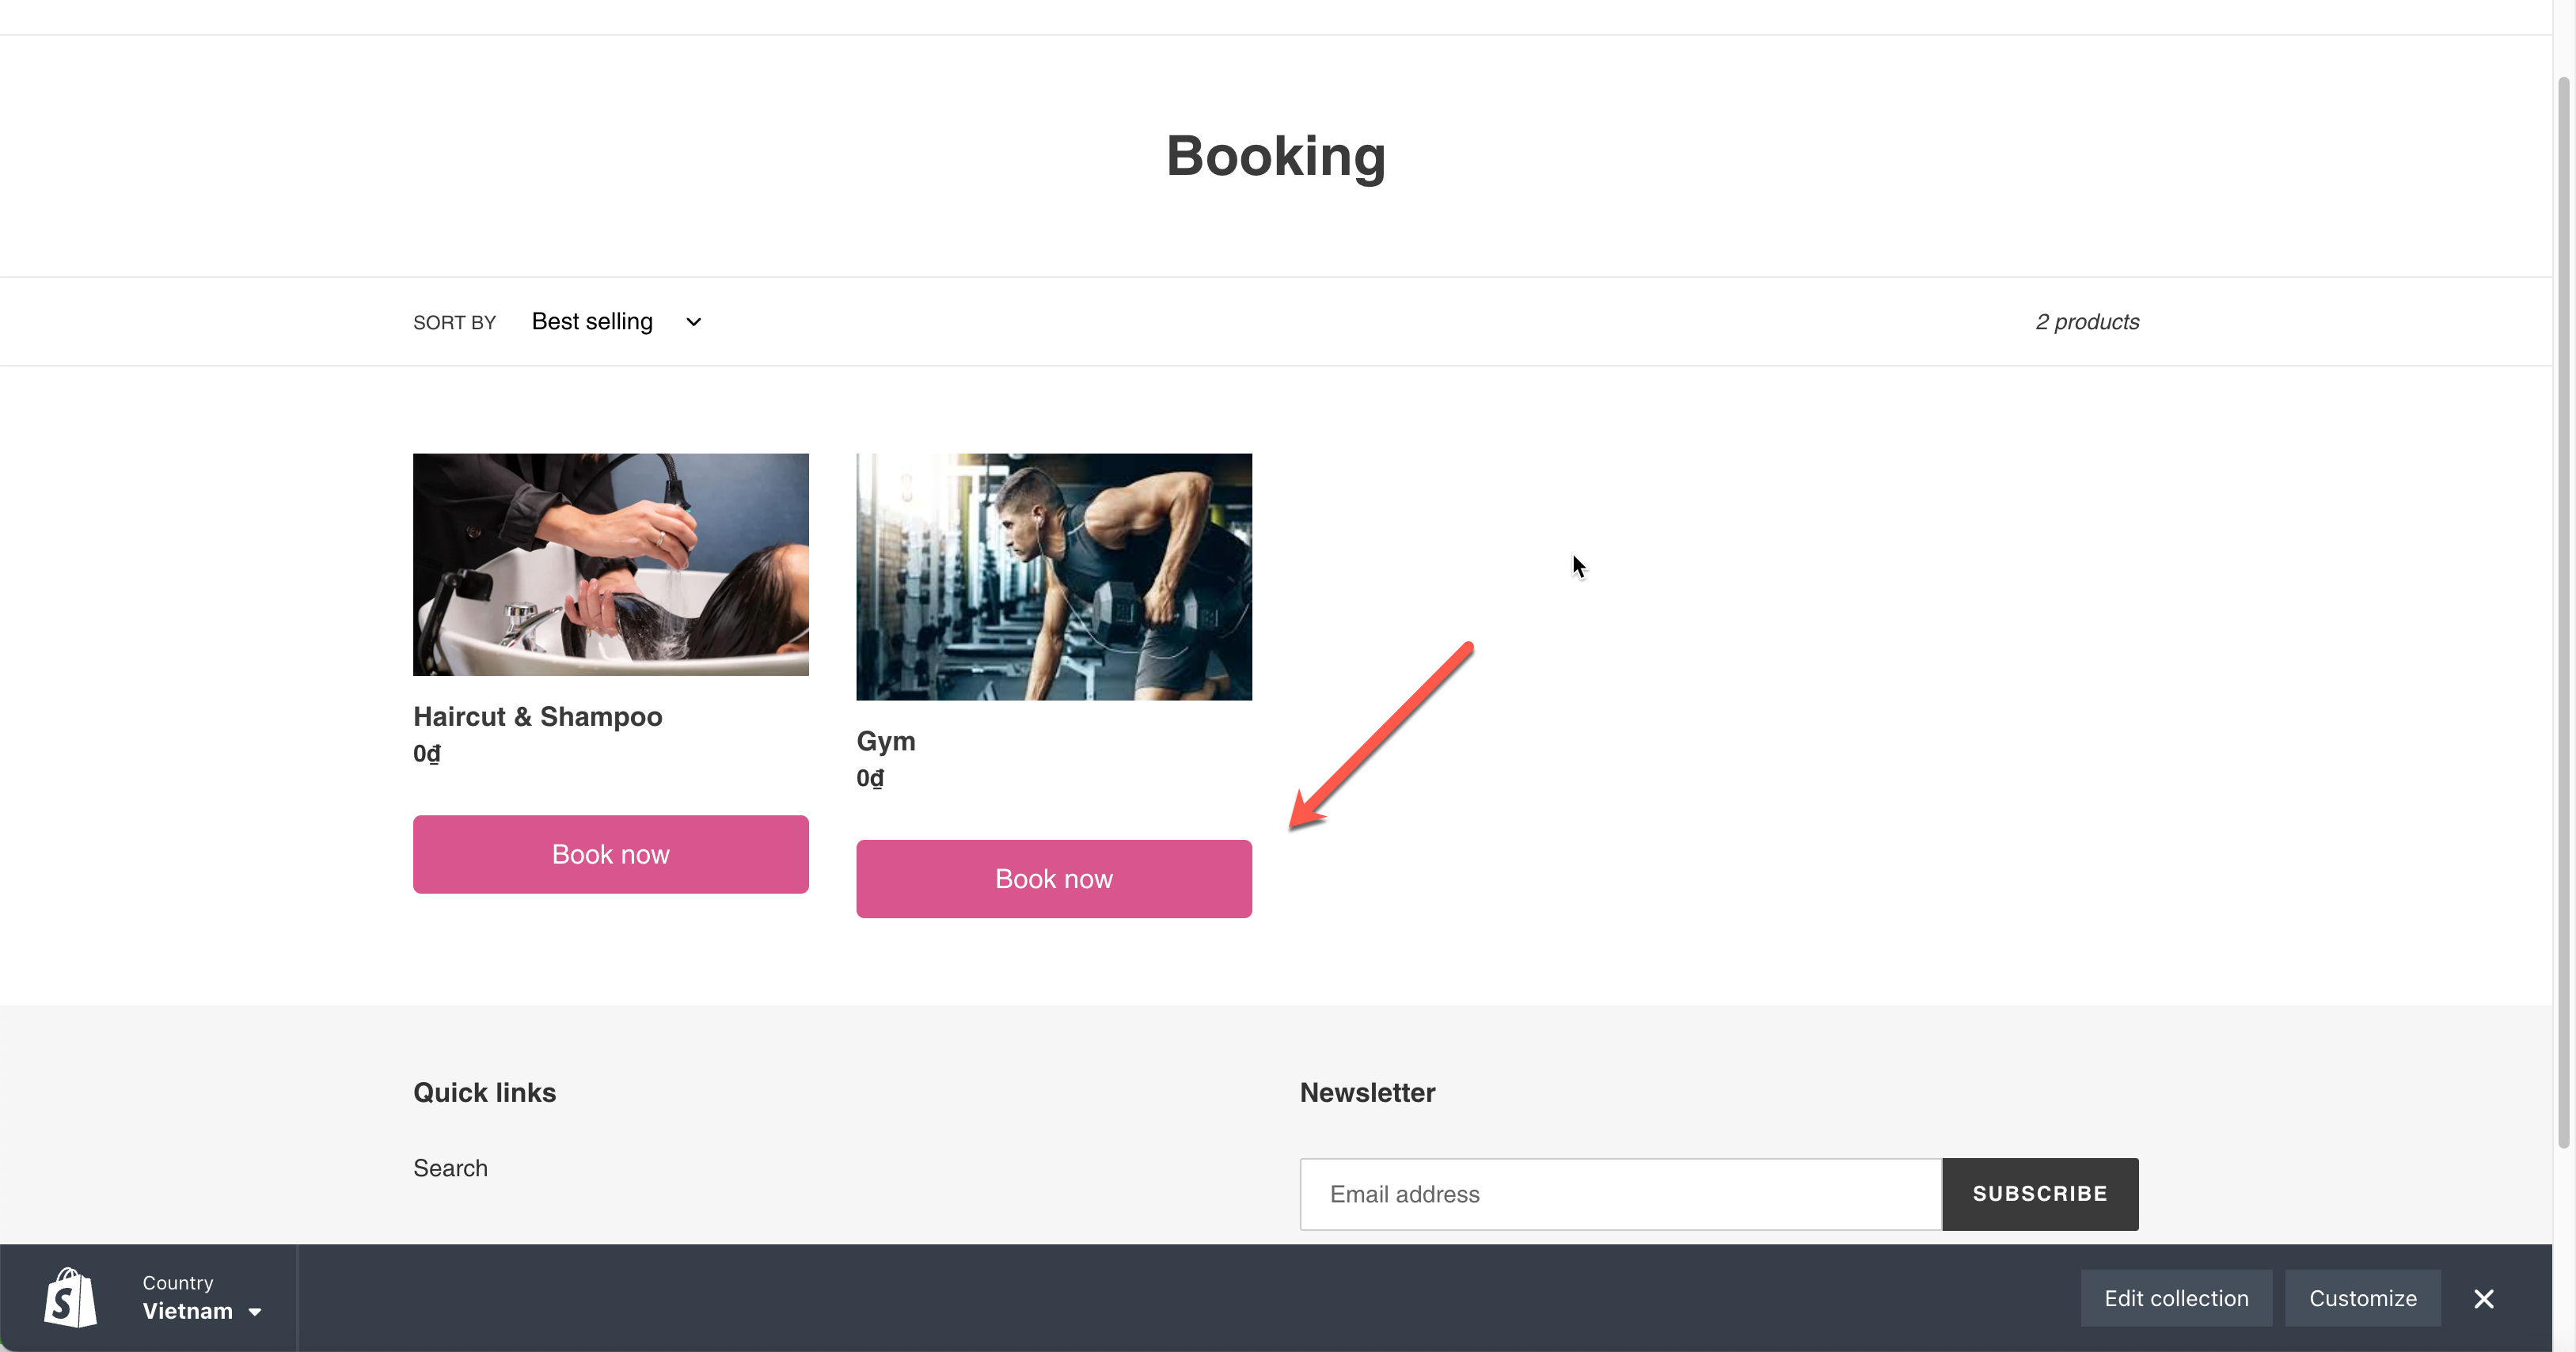
Check the result on the front store.
The button shows up under each service products on the site. Click the button > the booking widget shows up.
Automatically approve appointments
This setting will make the appointment status to be approved by default in the Tipo Calendar
In General setting > Appointment status > select Approved
After customers book the appointment on the booking widget, the appointment is added to Tipo calendar in the app. The status of the appointment is approved.
You do not need to manually check each pending appointment and approve them.
Change the week-starting day on booking calendar
In Date time > The start day of the week, select the day you want (eg. Monday)
Monday will show up as the 1st date on the calendar on the booking widget.
Change the time format
In Date time > Date format > select the format you want
The datetime on the booking widget will show up in the format you selected.
Set up flexible (interleaved) time slots
Please view this guide to know more
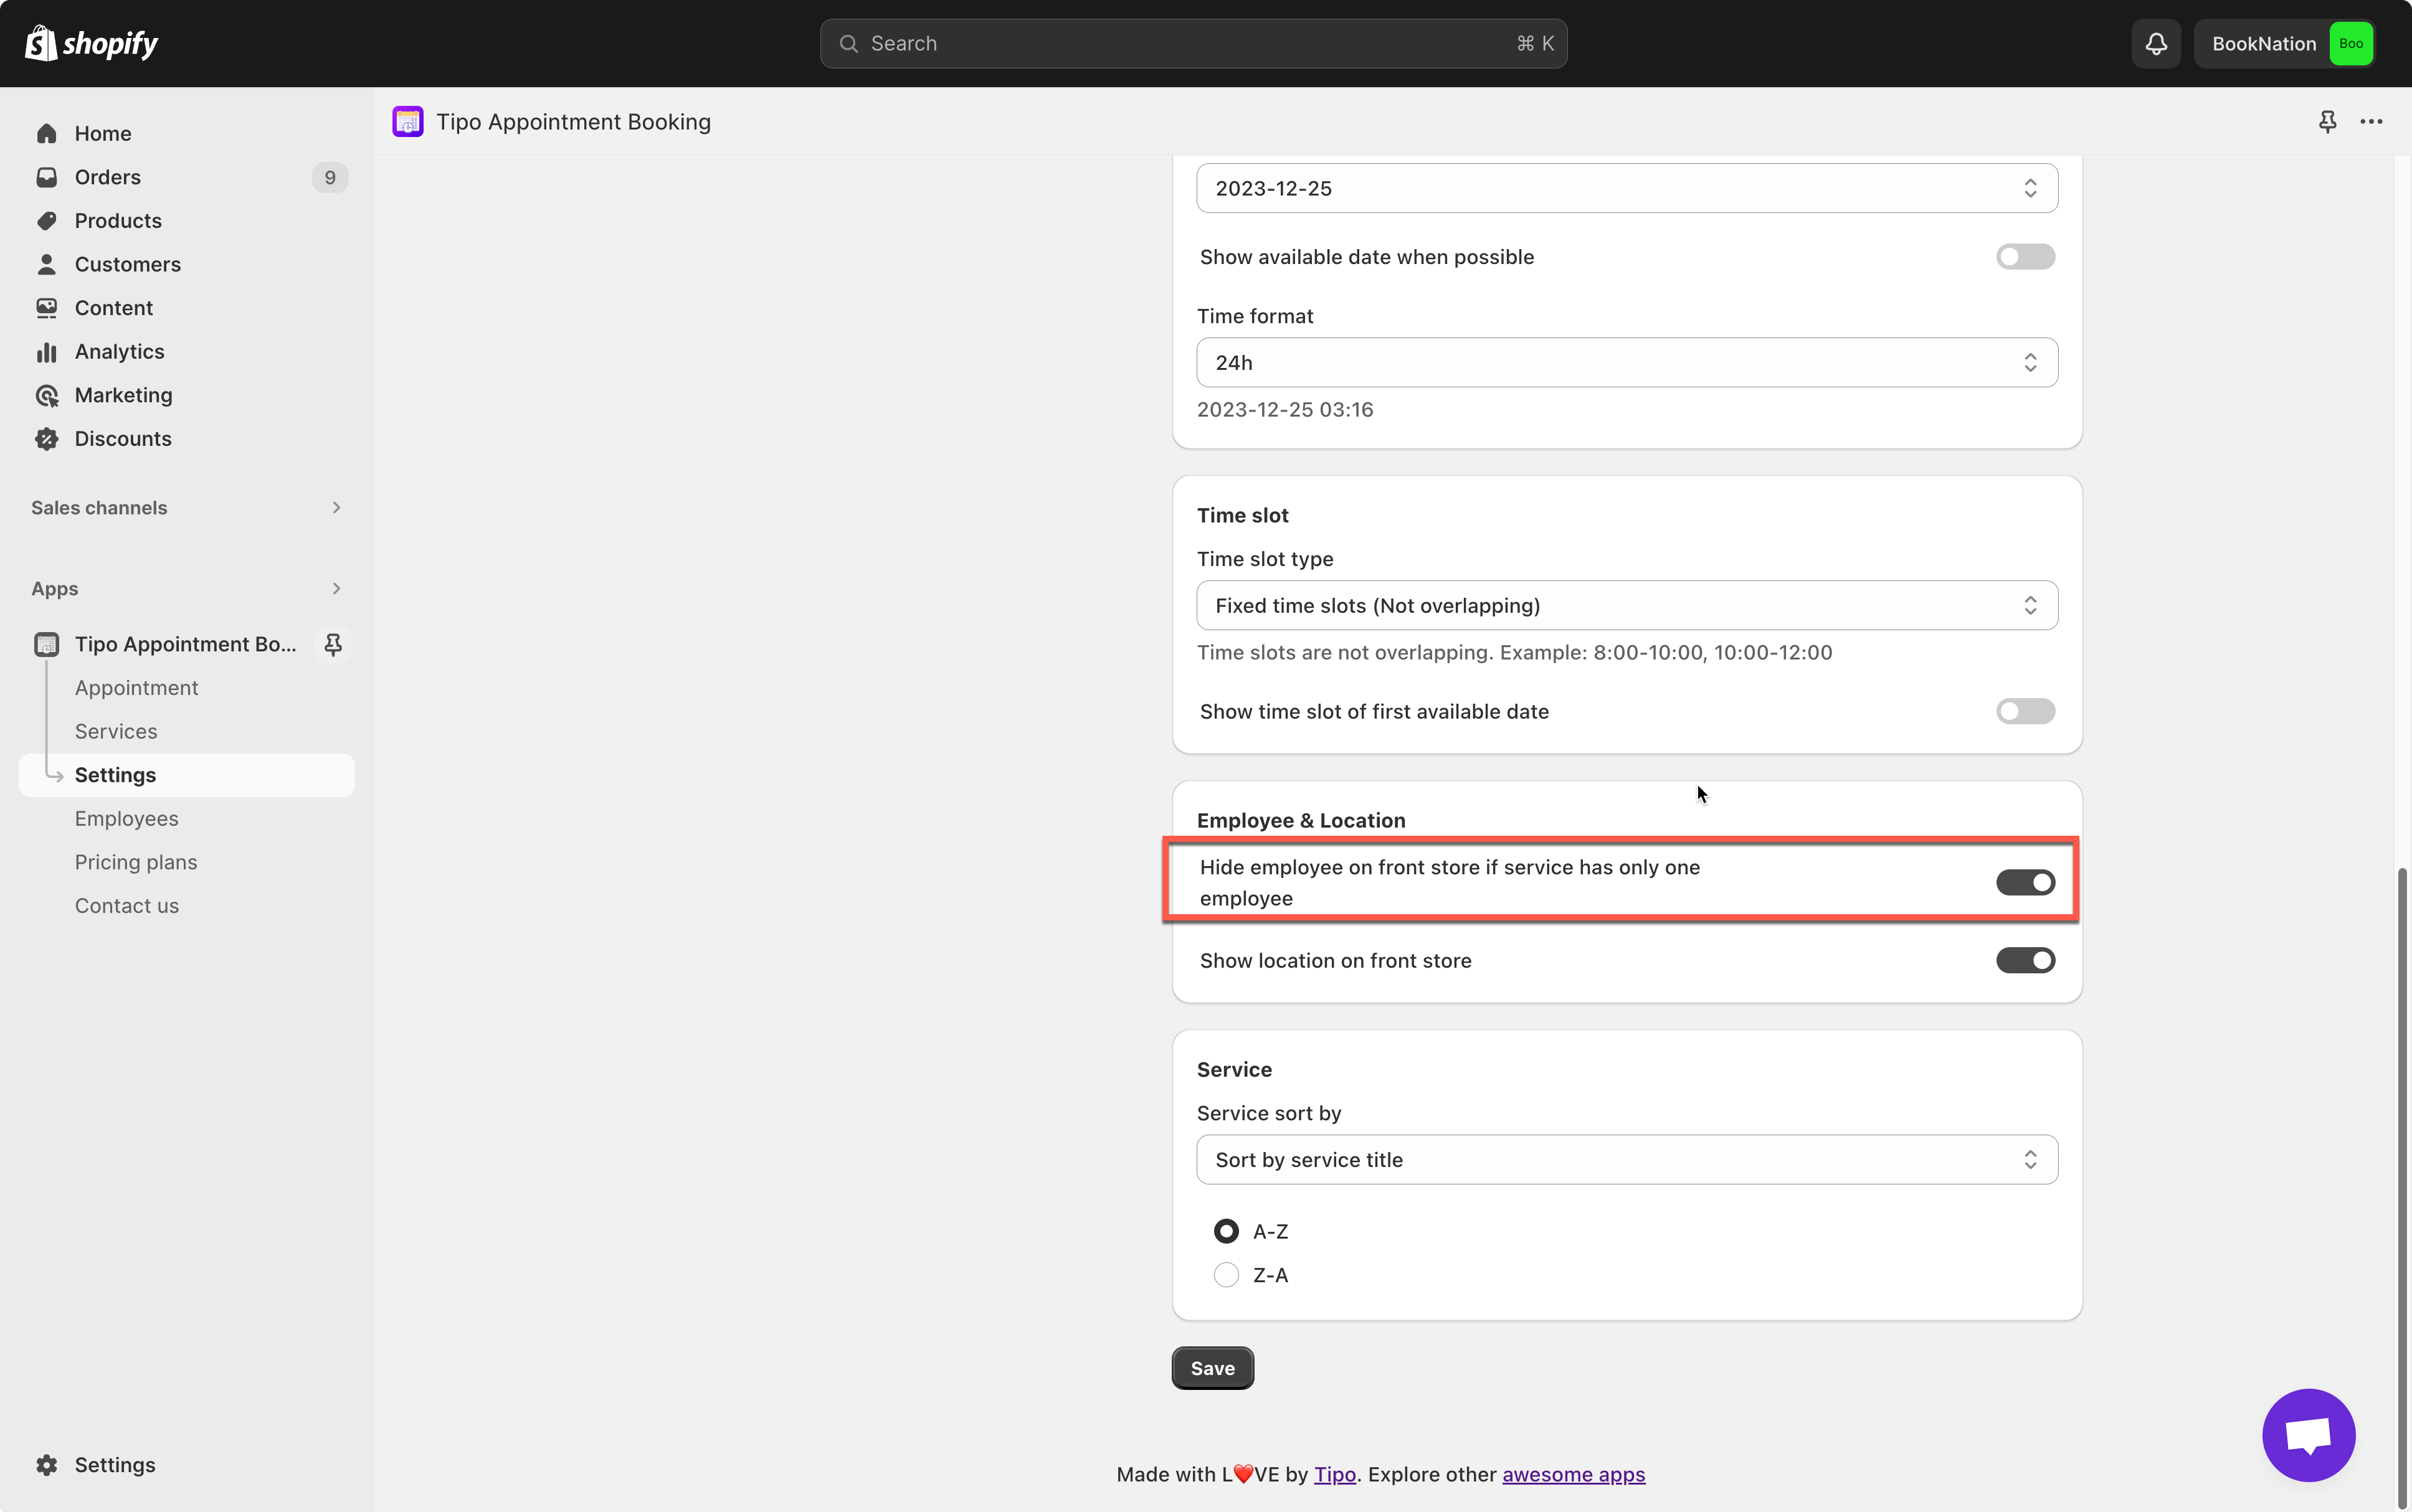
Hide employee on booking form if service has only one employee
In General setting > Employee & Location > enable option Hide employee on front store if service has only one employee
If only 1 employee is assigned to the service, the employee field does not show on the booking widget
If only 2 employee is assigned to the service, the employee field shows on the booking widget. Customers need to select one of the employee and book.