
Create an appointment
Admin can manually make an appointment with customers right in “Calendar” tab
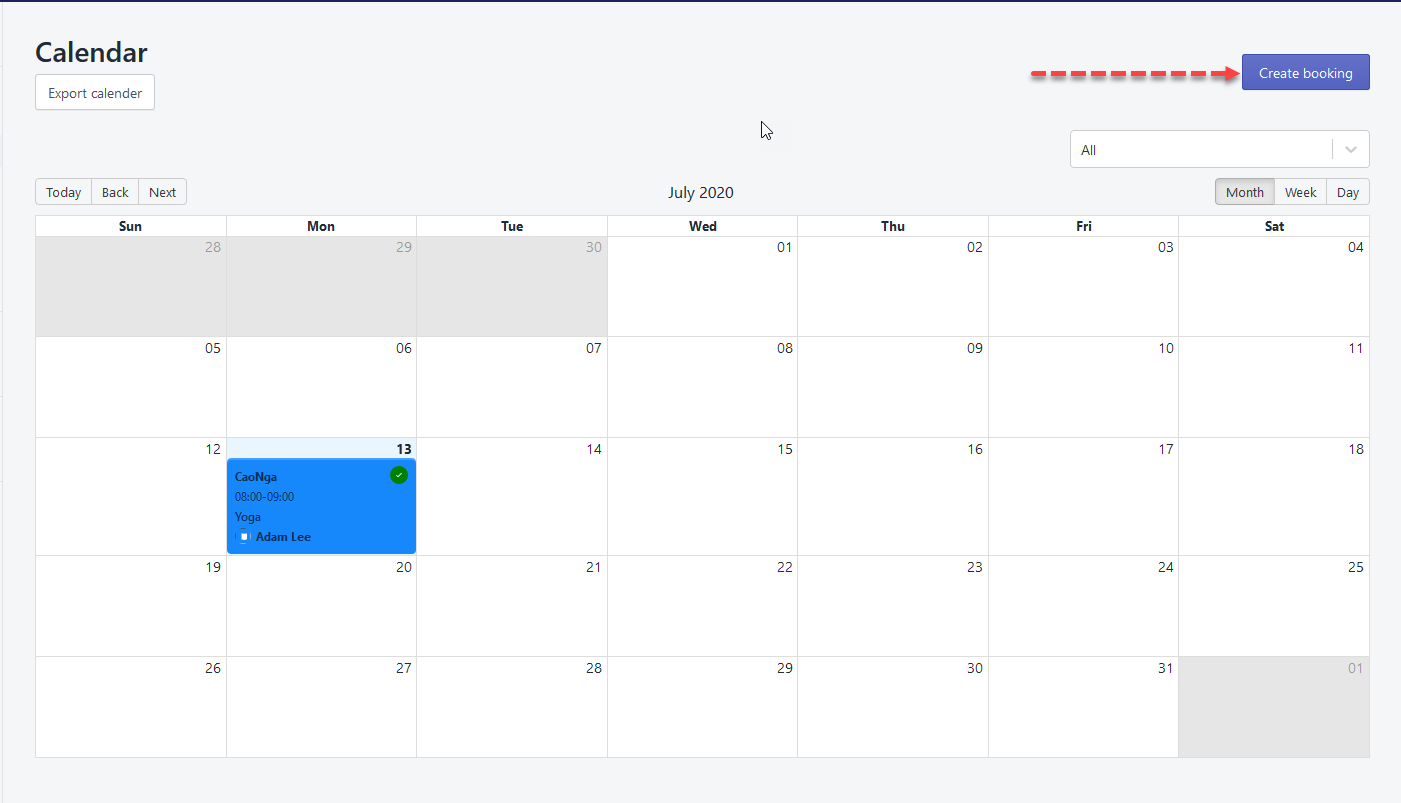
- Click “Create Booking”
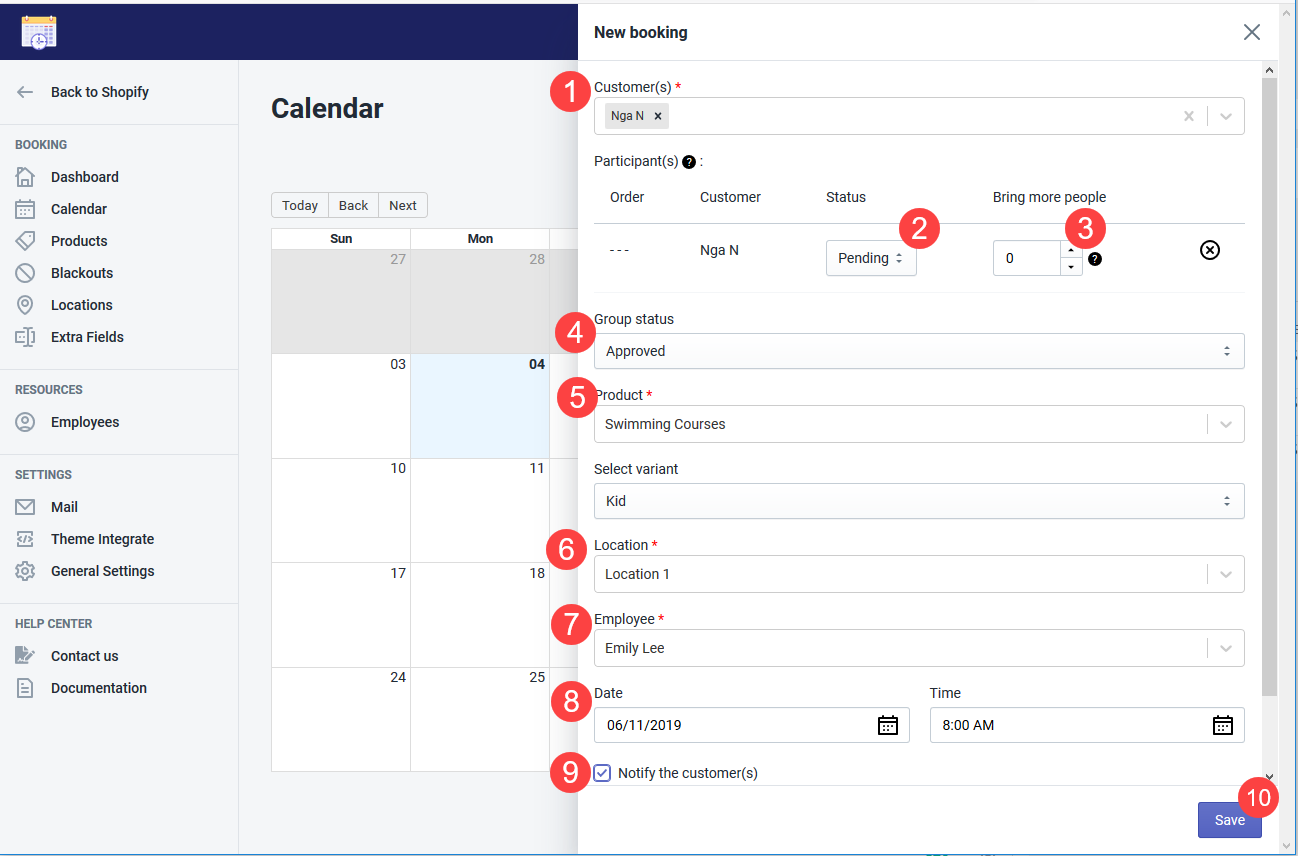
Next, follow the steps below
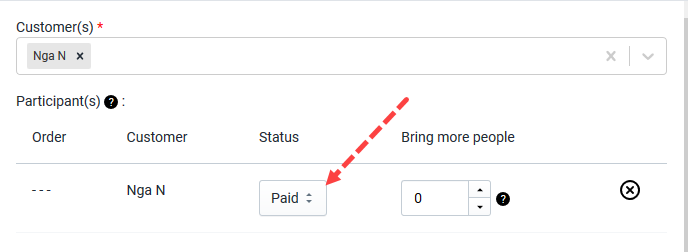
- Select customer(s) in the available list
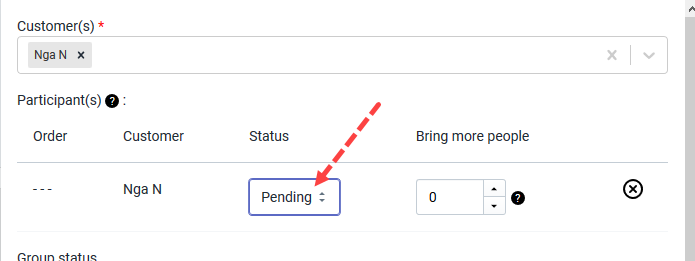
- Choose an order status (“Pending” if this customer has not paid yet or “Paid” if you got the payment already)
- Add the number of additional people going with this customer
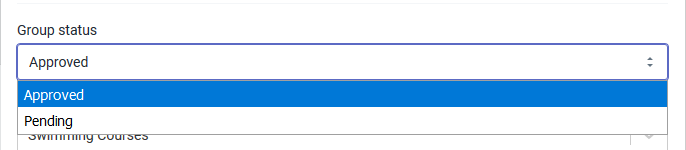
- Choose an appointment status (Approved or Pending)
- Select product and variant (if any)
- Select a location where the appointment will take place
- Select an employee who is in charge of this appointment
- Set up the date and time of the appointment
- Put a tick to send an email notification about the appointment to customers
- Save
Note: Please carefully select an order status in Step 2 because you cannot edit it once the appointment created.
Email notifications
1. To employee
Employees will receive an email notification according to the selected group status in Step 4.
2. To customers
Case #1:
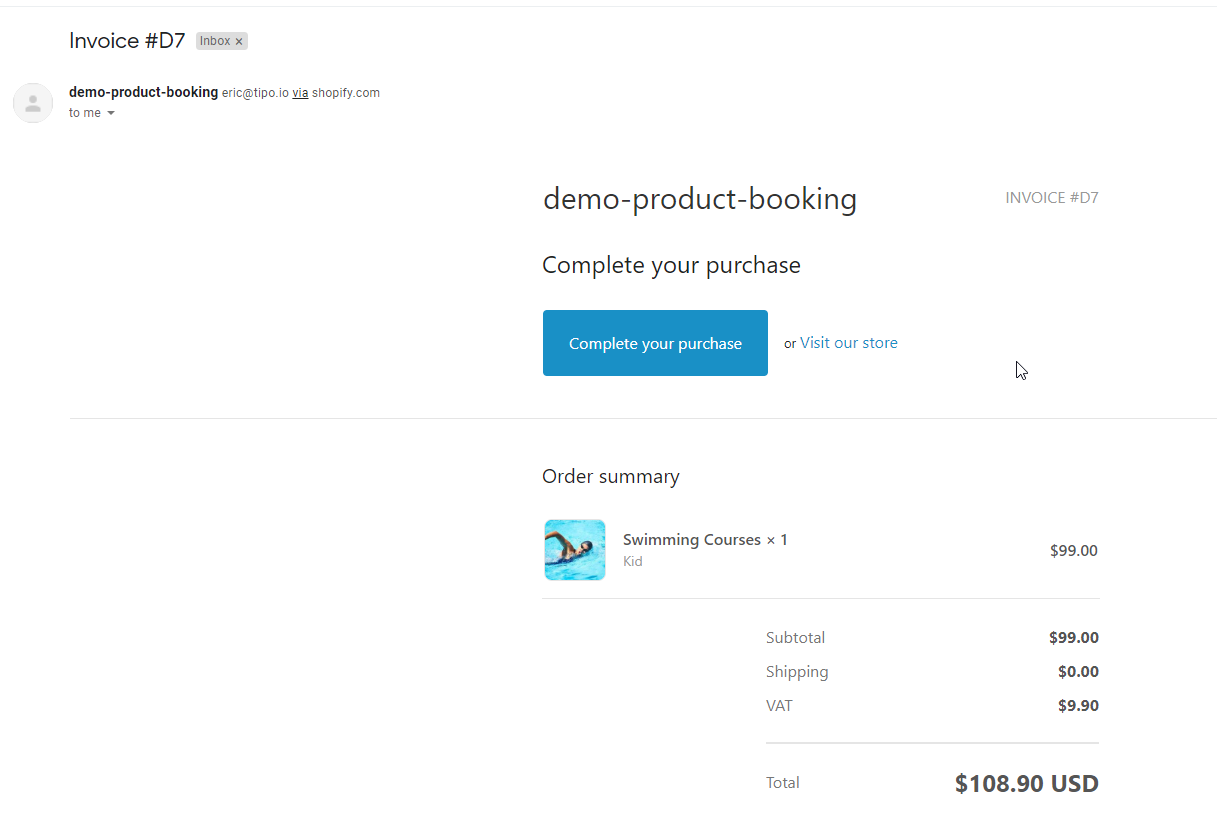
If you set Pending in Step 2 and enable “Notify the customer(s)” in step 9, customers will receive an invoice email, for example:
If the customer completes this order, he will receive an order confirmation and an email notification according to the selected group status in Step 3.
Next, the order status will automatically switch from Pending to Paid here
Case #2:
If you set “Paid” in step 2, customers will receive an email notification according to the selected group status in Step 3.